
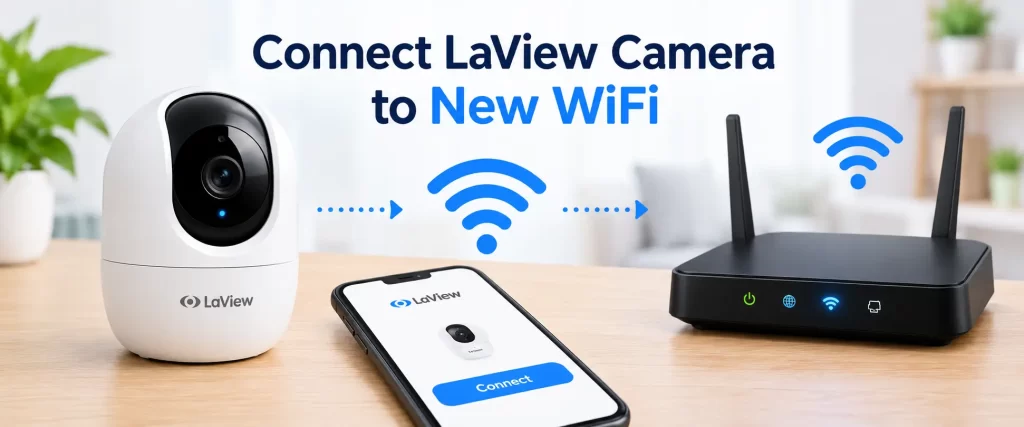
To connect a LaView camera to a new Wi-Fi network, connect your phone to the new Wi-Fi, open the LaView app and follow the camera’s network setup process.
If the camera cannot reconnect because the Wi-Fi name or password has changed, you may need to reset it and add it again using the new network details. Many LaView Wi-Fi cameras require a 2.4 GHz network, but compatibility depends on the model.
Changing your router, moving to a new home or updating your Wi-Fi password can disconnect your LaView security camera. When this happens, the camera may appear offline in the app, stop sending motion alerts or fail to load its live video.
The good news is that you can often restore the connection without replacing the camera. This guide explains how to connect a LaView camera to new Wi-Fi, what to check before setup and how to fix common connection problems.
Note: This is an independent troubleshooting guide. We are not affiliated with, endorsed by or the official support provider for LaView. Menu names and setup steps can vary by camera model, app version and firmware.
Why Does a LaView Camera Need to Be Reconnected to Wi-Fi?
A LaView camera normally stores the wireless network details used during its original setup. If those details change, the camera may no longer be able to connect.
Common reasons include:
- You replaced your old router with a new one.
- You changed your Wi-Fi network name (SSID).
- You updated your Wi-Fi password.
- You moved the camera to another home or building.
- Your router now uses a different security setting or frequency band.
- The camera lost its saved network configuration.
- The camera is too far from the router or experiencing wireless interference.
If the camera still appears in your LaView app but shows an offline status, first check whether your router or Wi-Fi credentials have changed. You may not need to delete the camera from your account immediately.
Before You Connect Your LaView Camera to New Wi-Fi
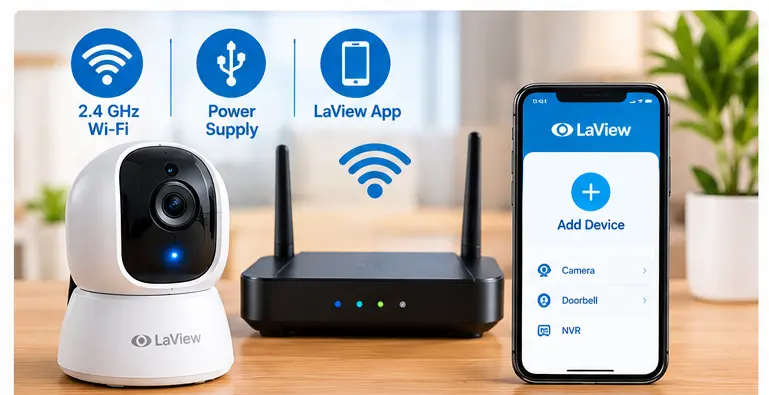
Prepare the new network details before starting. This makes laview camera Login easier and reduces the chance of repeated connection failures.
Check these requirements first:
- Wi-Fi name: Know the exact name of your new wireless network.
- Wi-Fi password: Check the password carefully, including uppercase letters, lowercase letters, numbers and symbols.
- Phone connection: Connect your phone to the new Wi-Fi network before starting setup.
- Network frequency: Many LaView Wi-Fi cameras use 2.4 GHz Wi-Fi. Confirm your particular model’s requirements.
- Camera power: Use the supplied power adapter and cable when applicable.
- App access: Sign in to the correct LaView account.
- Router proximity: Keep the camera near the router during initial pairing.
Check Your Camera’s Wi-Fi Compatibility
Not every LaView device supports the same network options. Official LaView setup guidance for several Wi-Fi camera models specifies a 2.4 GHz network, while some products may support different configurations.
| Network or setting | What to check | Recommended action |
| 2.4 GHz Wi-Fi | Required by many LaView Wi-Fi cameras | Connect LaView Camera to phone then to the 2.4 GHz network for setup |
| 5 GHz Wi-Fi | May not be supported by your camera | Use 2.4 GHz if your model requires it |
| Combined Wi-Fi name | Router combines 2.4 GHz and 5 GHz under one name | Check router settings or temporarily separate bands if needed |
| Wi-Fi password | Must match the router’s current password | Re-enter it carefully in the app |
| Router security | Some older devices may not support every security mode | Check your model’s manual before changing security settings |
Do not assume that every LaView camera is limited to 2.4 GHz. Check your exact model’s specifications before changing router settings.
Method 1: Connect Your LaView Camera to New Wi-Fi Through the App
This is the standard setup approach for many LaView Wi-Fi cameras when the old network details are no longer available to the device.
Step 1: Connect Your Phone to the New Wi-Fi
Open the Wi-Fi settings on your smartphone and connect to the new router.
If your camera requires 2.4 GHz Wi-Fi, make sure your phone is using that band during setup. On a router that broadcasts separate network names, choose the 2.4 GHz network.
Keep your Wi-Fi password nearby. You will need to enter it in the app.
Step 2: Power On the Camera
Connect the camera using its appropriate power adapter and cable. Wait for it to start up.
If the camera remains offline, this may be expected because it is still trying to connect to the old network.
Step 3: Put the Camera Into Setup Mode
Find the camera’s reset or setup button. Its location varies by model and may be beneath a cover, near the memory card slot or on the camera body.
For many LaView Wi-Fi cameras, the official setup instructions recommend holding the reset button until you hear a prompt or beep and the indicator enters its pairing state.
Important: Resetting a camera may erase its saved configuration. Do not hold the button unless you are ready to set up the camera again. Follow the exact instructions for your model rather than assuming that every camera uses the same button duration or light pattern.
Step 4: Open the LaView App
Launch the LaView app and sign in to your existing account.
Look for the + icon, usually near the top-right corner and select an option such as Add Device. Choose the correct camera type or the corresponding Smart Camera option.
App menus may look different depending on the version installed on your phone.
If the camera is already listed in your account, do not automatically remove it. First check whether your model supports changing the Wi-Fi network from its existing device settings. If not, follow the model-specific re-pairing instructions.
Step 5: Enter the New Wi-Fi Details
Follow the on-screen instructions until the app asks for the wireless network password.
Confirm that the displayed network name is the one you intend to use. Enter the new password carefully and continue.
A single incorrect character can prevent the camera from connecting.
Step 6: Scan the Setup QR Code, If Required
Some LaView Wi-Fi cameras use a QR code displayed on your phone to transfer the new network details to the camera.
If your app displays a QR code:
- Increase your phone’s screen brightness.
- Hold the phone in front of the camera lens at the distance recommended by your model’s instructions.
- Keep the phone steady and avoid glare on the screen.
- Wait for the camera’s audio prompt or other confirmation.
- Tap the relevant confirmation button in the app, if prompted.
Other LaView devices may use an alternative pairing method, such as EZ Mode or a device-specific wireless setup process. Use the method displayed by your app and supported by your camera.
Step 7: Wait for the Connection to Finish
Keep the camera, phone and router close together during pairing. Avoid switching apps or interrupting the camera’s power while the process is running.
When setup succeeds, the app should indicate that the device is connected or online. The camera’s indicator light may also change, but the exact color and pattern depend on the model.
Open the live view to confirm that video loads properly.
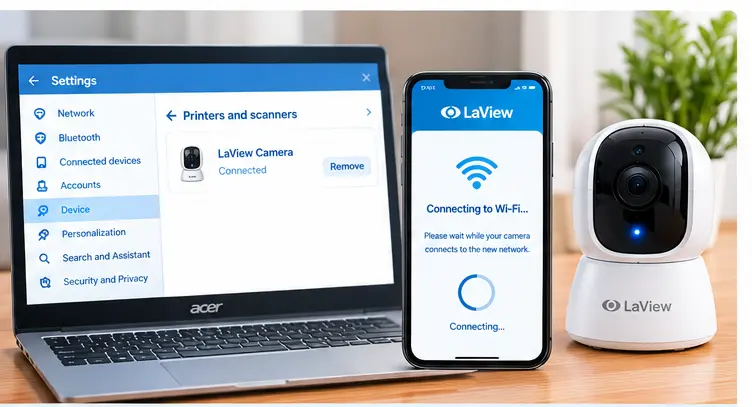
Method 2: What If Your LaView Camera Is Still Listed but Offline?
If the camera already appears in the app, try these checks before removing the device.
- Confirm that the new router has internet access.
- Check that the camera is powered on.
- Verify that the phone is connected to the correct Wi-Fi network.
- Open the camera’s settings and look for a supported network-change option.
- Restart the camera and router if the manufacturer permits it.
- If the camera cannot update its saved Wi-Fi details directly, use the model’s reset and re-pairing procedure.
Changing Wi-Fi credentials does not always require deleting a device from your account. Removing it too early can make recovery more complicated, particularly if you need to preserve device sharing or other settings.
Common Problems When Connecting a LaView Camera to New Wi-Fi
The following table matches common symptoms with practical next steps.
| Problem | Possible cause | What to try |
| Camera stays offline | Camera still has the old Wi-Fi details | Reconnect through supported app settings or re-pair it |
| App cannot find the camera | Camera is not in pairing mode | Follow the correct reset or setup procedure |
| Wi-Fi password is rejected | Incorrect password or unsupported security configuration | Verify the password and check model compatibility |
| QR code will not scan | Glare, low screen brightness or incorrect distance | Increase brightness and adjust the phone’s position |
| Camera connects but video will not load | Weak signal, router internet issue or app problem | Test the network, move the camera closer and reopen the app |
| Camera repeatedly disconnects | Weak signal, interference or unstable power | Improve placement and check the power supply |
| Setup fails on a combined-band router | The camera may require a specific Wi-Fi band | Confirm the model’s frequency requirements and router configuration |
How to Fix LaView Camera Wi-Fi Connection Problems
If the standard setup process fails, try the following fixes in order. Start with the simplest checks before changing router settings or resetting the device again.
Fix 1: Verify the Wi-Fi Password
Check the password on another device if necessary. Make sure you are entering the password for the new router, not the old network.
If your router uses a long password or special characters, enter it carefully. Do not weaken your network security unnecessarily just to make the camera connect.
Fix 2: Check the 2.4 GHz Network
If your model requires 2.4 GHz Wi-Fi, a 5 GHz-only network will not work.
Some routers combine both frequency bands under one network name. If setup repeatedly fails, check the router’s settings or consult the router manufacturer about temporarily separating the bands. Reconnect your phone to the compatible network and try again.
Only change this setting when necessary. A combined-band network may work perfectly with a compatible camera.
Fix 3: Move the Camera Closer to the Router
During setup, place the camera near the router. Thick walls, metal surfaces, appliances and distance can weaken a wireless signal.
Once the camera connects successfully, move it toward its intended location and test the connection again. If the signal becomes unreliable, consider a better router position or a compatible Wi-Fi extender.
Fix 4: Restart the Camera and Router
A restart can help clear temporary network issues.
- Close the LaView app.
- Restart the router using its normal procedure.
- Wait until the Wi-Fi network and internet connection are available.
- Restart the camera using its normal power procedure.
- Reopen the app and check the device status.
Avoid repeatedly unplugging a camera while update LaView Camera firmware or completing a setup process.
Fix 5: Check Router Security and Network Isolation
If the camera still cannot connect, verify that your router’s security settings are compatible with the camera. Some older devices may not support newer Wi-Fi security configurations.
Router features such as AP isolation or client isolation can also prevent devices on the same network from communicating in certain setups.
Consult your router’s documentation before changing these options. Avoid disabling security protections broadly; make only necessary, targeted changes.
Fix 6: Update the App and Check Firmware
Install available updates for the LaView app through your phone’s official app store. If the camera reconnects, check whether a firmware update is available in its settings.
Do not interrupt a firmware update. If the camera cannot connect to the network at all, follow the manufacturer’s instructions for recovering it rather than attempting an unsupported update method.
Fix 7: Reset and Re-Pair the Camera
Use a reset only when other methods fail or the official setup procedure requires it.
A factory reset may erase Wi-Fi credentials and other configuration settings. Depending on the model, you may need to configure motion detection, recording, alerts or shared access again.
Before resetting, check the exact model’s instructions for the reset button location, button duration and expected confirmation sound or light.
Quick Checklist Before Trying Again
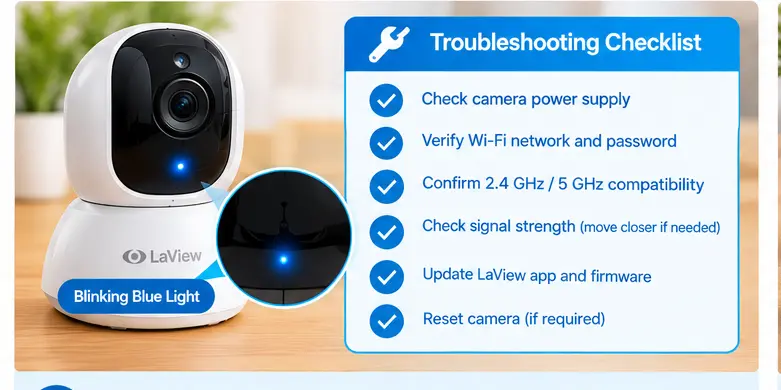
Use this checklist if your LaView camera still will not connect.
- The camera is receiving power.
- The router is online and working.
- The phone is connected to the correct new Wi-Fi.
- The network frequency is supported by the camera.
- The Wi-Fi password has been checked.
- The camera is in its proper pairing mode.
- The app is using the correct device type and setup method.
- The camera is close to the router during pairing.
- The QR code or alternative pairing steps have been completed correctly.
The camera’s model-specific instructions have been checked before resetting again.
When Should You Contact LaView Support?
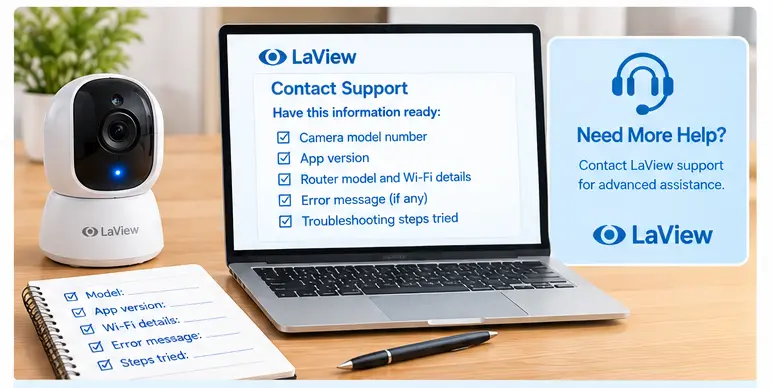
Contact LaView support if the camera cannot enter pairing mode, repeatedly fails setup after you have checked the network or appears to have a hardware or firmware problem. Before contacting support, collect the information below. It can help narrow down the issue more quickly.
| Information to prepare | Why it helps |
| Camera model number | Identifies the correct setup and reset procedure |
| App name and version | Helps identify menu or compatibility differences |
| Router model and Wi-Fi bands | Helps check network compatibility |
| Indicator light or audio prompt | Helps describe the camera’s current setup state |
| Error message or failed step | Shows where the connection process stops |
| Troubleshooting already attempted | Avoids repeating steps unnecessarily |
You can start with the LaView Help Center or the LaView contact page. Official app support information is also available through the LaView listing on the Google Play Store.
Frequently Asked Questions
How do I connect my LaView camera to a new Wi-Fi network?
Connect your phone to the new Wi-Fi, open the LaView app and follow the supported network setup process. If the camera cannot change networks directly, you may need to reset and re-pair it.
Do I need to reset my LaView camera when I change Wi-Fi?
Not always. Some devices may offer a network-change option in their settings. Other models require pairing again after the Wi-Fi name or password changes. Check your model’s instructions first.
Does a LaView camera support 5 GHz Wi-Fi?
Support depends on the model. Many LaView Wi-Fi cameras require 2.4 GHz Wi-Fi, while some products may support additional bands. Confirm your camera’s specifications before changing router settings.
Why is my LaView camera offline after changing my router?
The camera may still be trying to use the old Wi-Fi credentials. Other possible causes include an incompatible frequency band, an incorrect password, weak signal or a router configuration issue.
How do I reset my LaView camera for new Wi-Fi?
Locate the reset button and follow the instructions for your exact model. Some cameras use a button hold followed by a beep or voice prompt. Reset procedures and timings are not universal.
Why won’t my LaView camera scan the QR code?
The screen may be too dim, the phone may be too close or too far away or glare may interfere with scanning. Increase screen brightness, adjust the distance, and hold the phone steady. Use the alternative setup method if your app offers one.
Final Thoughts
Connecting a LaView camera to new Wi-Fi usually involves updating the network details through the app and pairing the camera again if necessary. Start by checking the Wi-Fi password, compatible frequency band, camera power and router signal. If the camera cannot reconnect directly, follow its model-specific reset and setup instructions.
Avoid factory resetting the camera as your first step. A careful check of the network and app can save time and help preserve your existing configuration.
Remember that this is an independent troubleshooting resource, not official LaView support. Always verify model-specific instructions before changing device or router settings.